

RESOURCES
AT THE READY
PRODUCT RECOMMENDATIONS
Handpicked products and services based on our event planning experience
FAMILY HISTORY AND RESEARCH RESOURCES


MyHeritage
DESIGN AND FREELANCE SERVICES

Canva Do-It-Yourself Design
INVITATION, PRINTING, AND EMAIL SERVICES
Punchbowl Digital Invites
MailerLite Email Services

Mailchimp Email Services


Eventbrite
Ticket Tailor
CUSTOM PRODUCT PRINTING (T-SHIRTS AND MORE)
Custom Ink
4imprint

Vistaprint
Avery Pin Style Name Badges
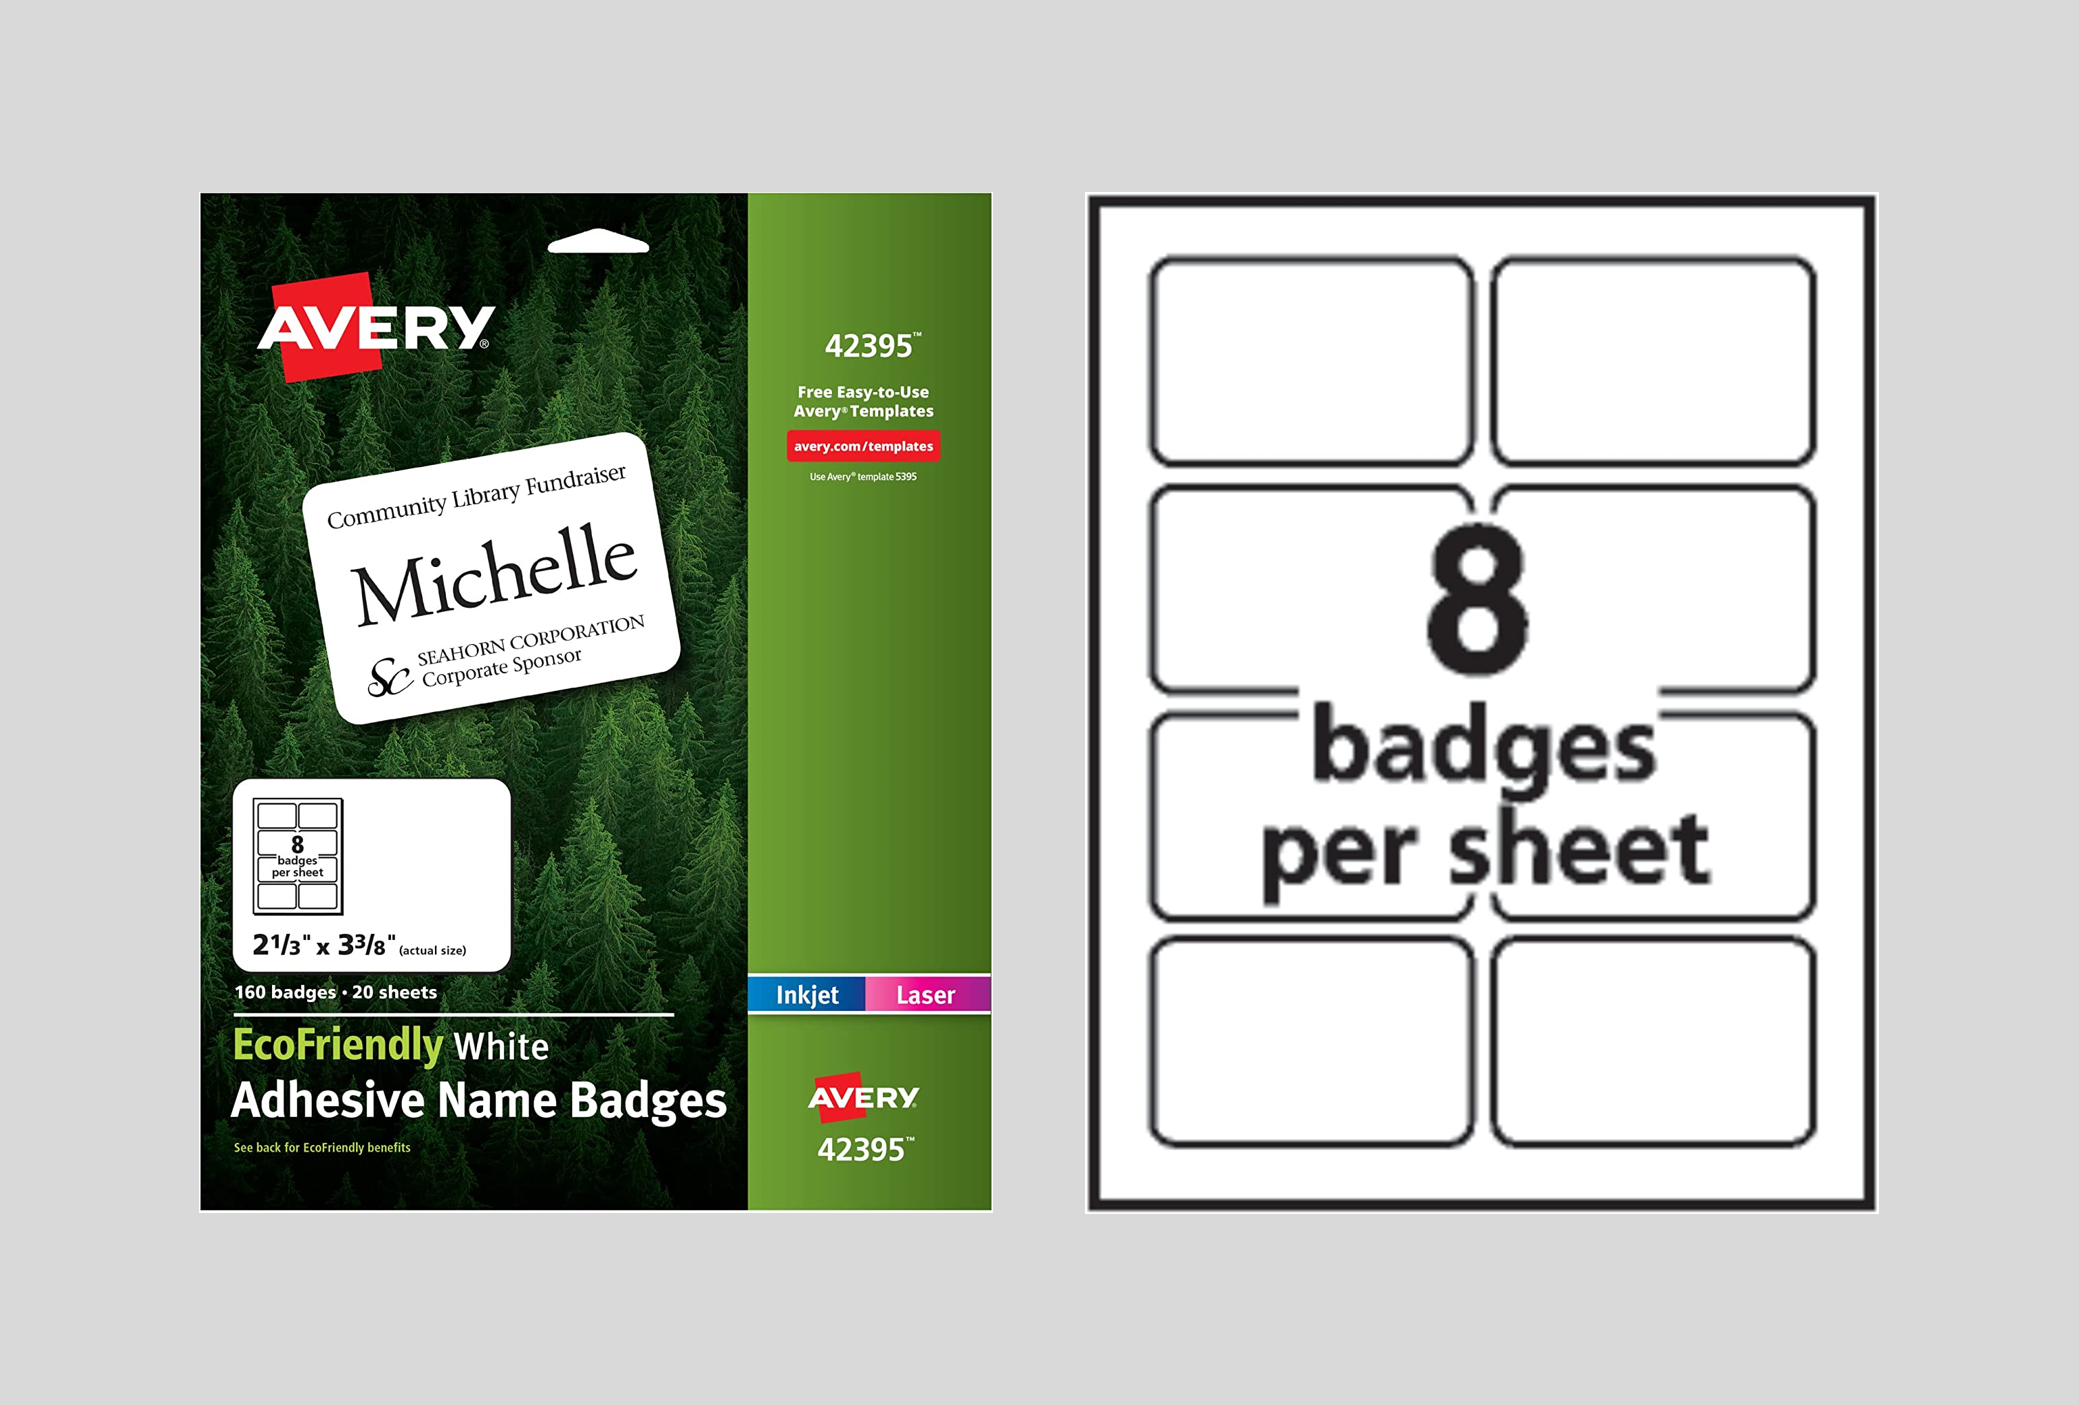
Avery Adhesive Name Badges
Staked and Hanging Signage
White 8.5” x 11” Cardstock Paper
Transparent Bingo Plastic Markers
Reunion Guest Book on Etsy
Initial Rubber Stamp on Etsy
Custom Dessert Toppers on Etsy
12-Pack Plastic Tablecloth
72-Pack Plastic Tablecloth Clips
Compostable Paper Cups
Compostable Paper Plates

Compostable Cutlery Combo
FamilySearch
Ancestry
Fiverr.com Freelancers
Upwork Freelancers

Shutterfly Invite Printing
Vistaprint Invite Printing


Paperless Post Digital Invites
Zazzle Invite Printing


ONLINE REGISTRATION SERVICES

REUNION PRODUCTS, MATERIALS, AND SUPPLIES


SEND US YOUR RECOMMENDATIONS
We would love to hear your own family reunion recommendations, and your feedback on the ones we recommended… let us know!
FREQUENTLY ASKED QUESTIONS
Our answers to some of your most common family reunion questions
-
At this time, our “Planning Your Family Reunion Guide and Workbook” is only available in print format, but we are exploring options to make the workbook fully digital.
-
We are excited to offer more than a dozen templates to kickstart your family reunion planning experience. You can access all templates at this link. All templates are available in Microsoft Office applications (Word, PowerPoint, and Excel), with some templates also compatible with Google Drive applications.
-
We love hearing your feedback because we know your inputs help make our content more relevant, our products more useful, and the impact on our community bigger. Submit your thoughts, questions, comments, and feedback to us anytime on our contact form and a member of our team will be in touch shortly.
-
Oh no! We’re sorry to hear there is a problem with your order. We are happy to assist in any way to make it right. Please submit a “order question” using our contact form.
-
Not yet, but we will soon! Our guide for family genealogy research and storytelling for the uncommon genealogist will be published in late 2023. In the meantime, feel free to reach out to us with any genealogy / family history research questions using our contact form.
-
Your purchase of items currently available in our online store do not entitle you to future editions or versions of our products.
-
Mail merge is a powerful functionality available in Microsoft Office applications to create things like nametags, address labels, and more. We reference mail merge in the “Design Your Check In Process” sub-section of the “Planning Your Family Reunion Guide and Workbook” on pages 60 and 61.
To complete a mail merge, first download the Event Name Badge Template at this link and then open an Excel spreadsheet where your attendee data exists. If you are creating nametags, you will want to one name per row. Depending on the design of your nametag, you may want to include the first name and last name of each attendee in two separate columns. Include other relevant pieces of information like generation, ancestor, current city, and other items in subsequent columns. What you include here really depends on what information you want to be shown on your attendees’ nametags.
Once you have all your attendees’ information included in the spreadsheet, be sure to add column headers (e.g., “First Name”) in the first row and save the spreadsheet. Next, in your Name Badge Template, click “Mailings” in the top ribbon and then “Select Recipients.” Select the “Use an Existing List Option” and find your Excel spreadsheet. This connects the Excel list you previously created with your attendees’ information to the Name Badge Template. Select the sheet which contains the data you wish to utilize.
Now it’s time to add your fields. In the first name badge, highlight the “[First]” including the brackets and click the “Insert Merge Field” dropdown in the ribbon options. Now select the data field you want to be included in that position. You may need to update some spacing and formatting. Repeat the same exercise for the remaining parts of the name badge.
Once your first name badge is set with the merge fields, copy the badge and paste in the name badge at the right. The only thing you need to do here is add a “Rule” from the ribbon options and select “Next Record.” Be sure this is typed before the first name in your template. This tells the mail merge to move on to the next name in the list from your spreadsheet. Copy that name badge and past in the remaining badges. Create additional pages as needed by hitting the “tab” button in the bottom right name badge.
At any time you can see how the name badge looks with the merged data by clicked “Preview Results” in the ribbon options. When you’re satisfied with the merge, click “Finish & Merge” and “Edit Individual Documents” from the dropdown list. It is important you double check the output for any spelling errors, formatting issues, etc. Before your finalize and print, be sure to remove the border around the name badges by selecting the entire table and clicked “Table Design” in the ribbon and then “Borders” to “No Border.” If you don’t do this, you will see the borders when you print.
Lastly, save your new document and export as a PDF for easier printing if needed. If you have any questions, view some help content online at this link or this link. Of course if you have specific questions to our templates, send us an email at danny@uncommongenealogist.com or submit a contact form.